I made (another) hip pack!
Wait, another?
Yes, another. It's the third one, actually.
The first one
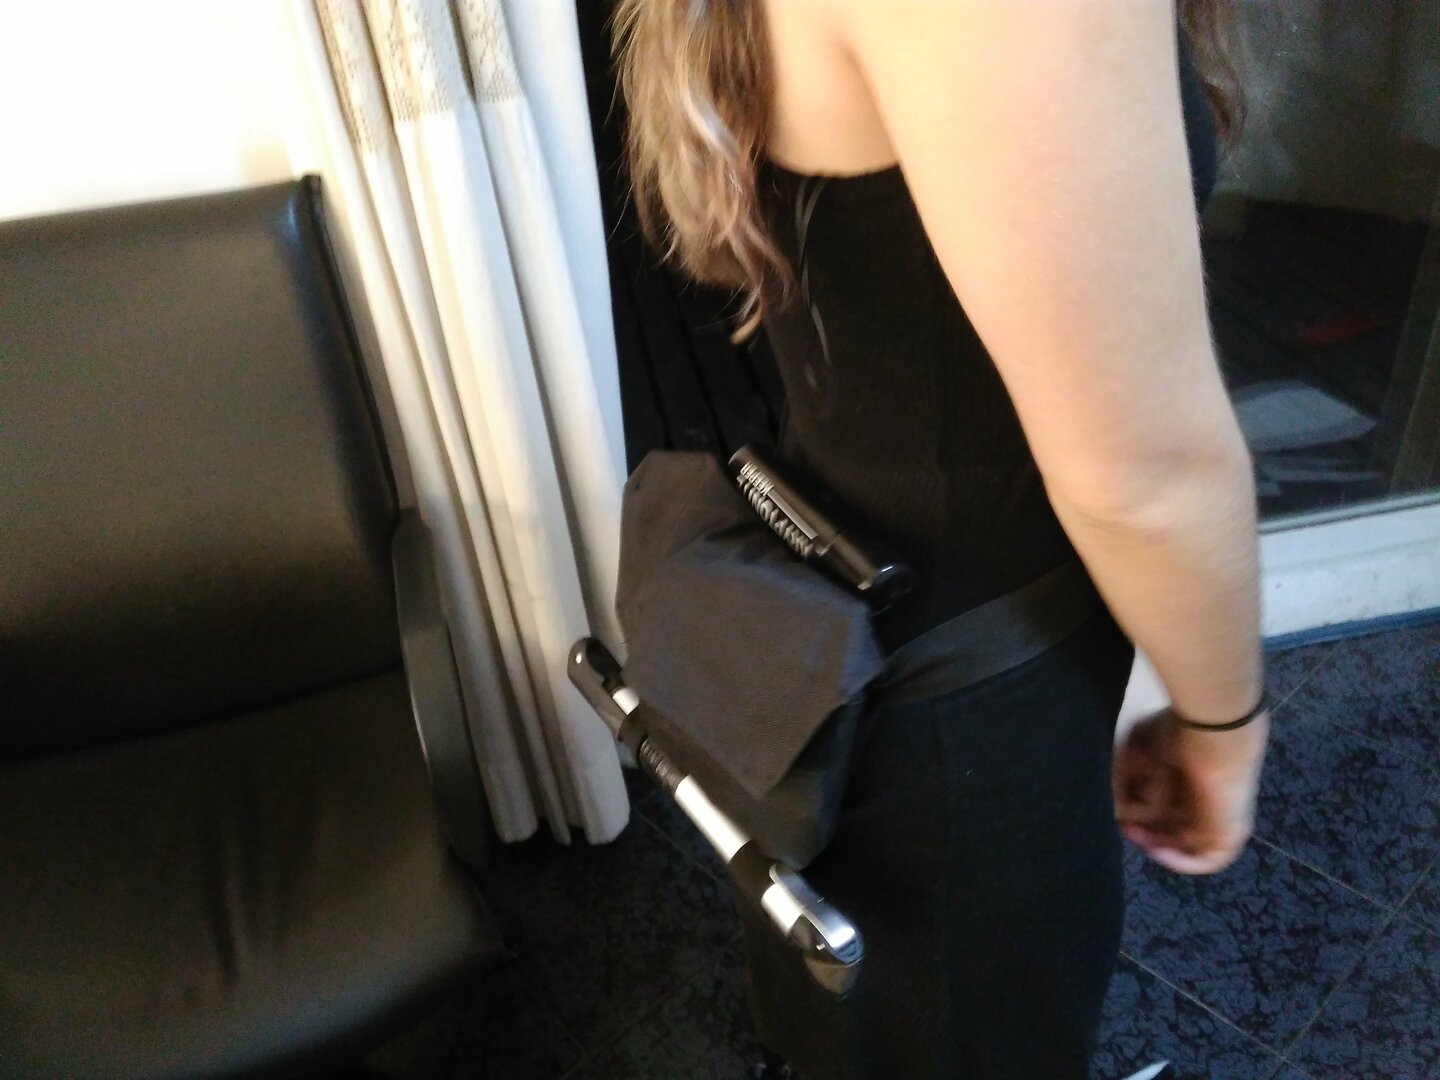
There's a reddit post of the this one, featuring:
- No lining.
- Internal divisions/pockets made of lycra.
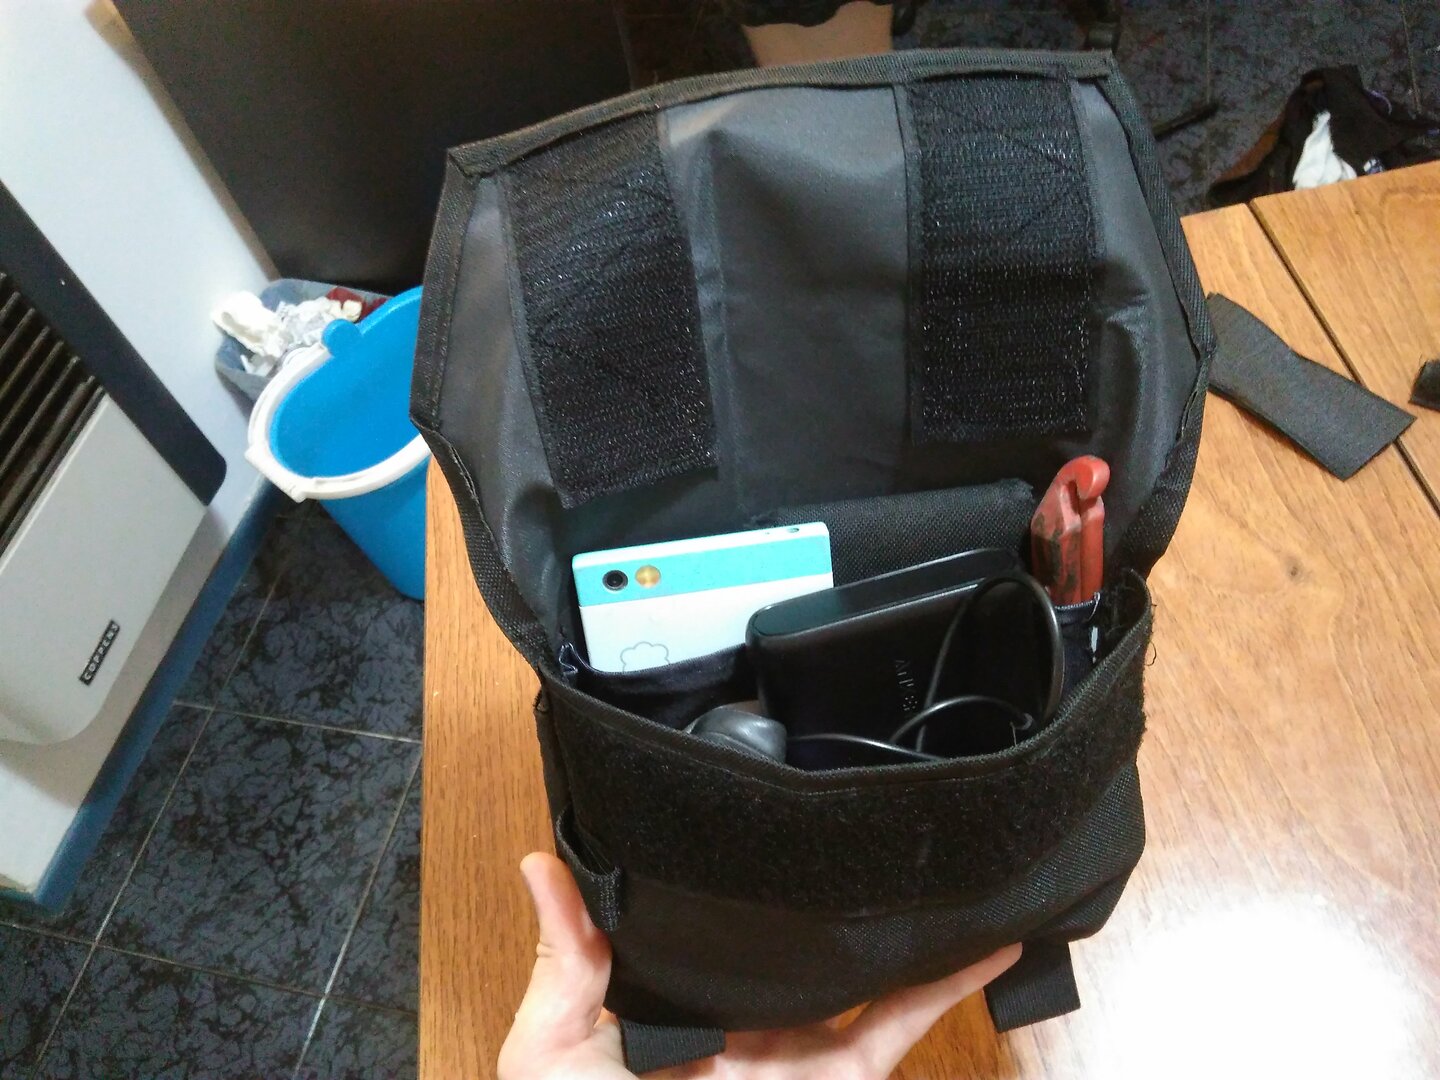
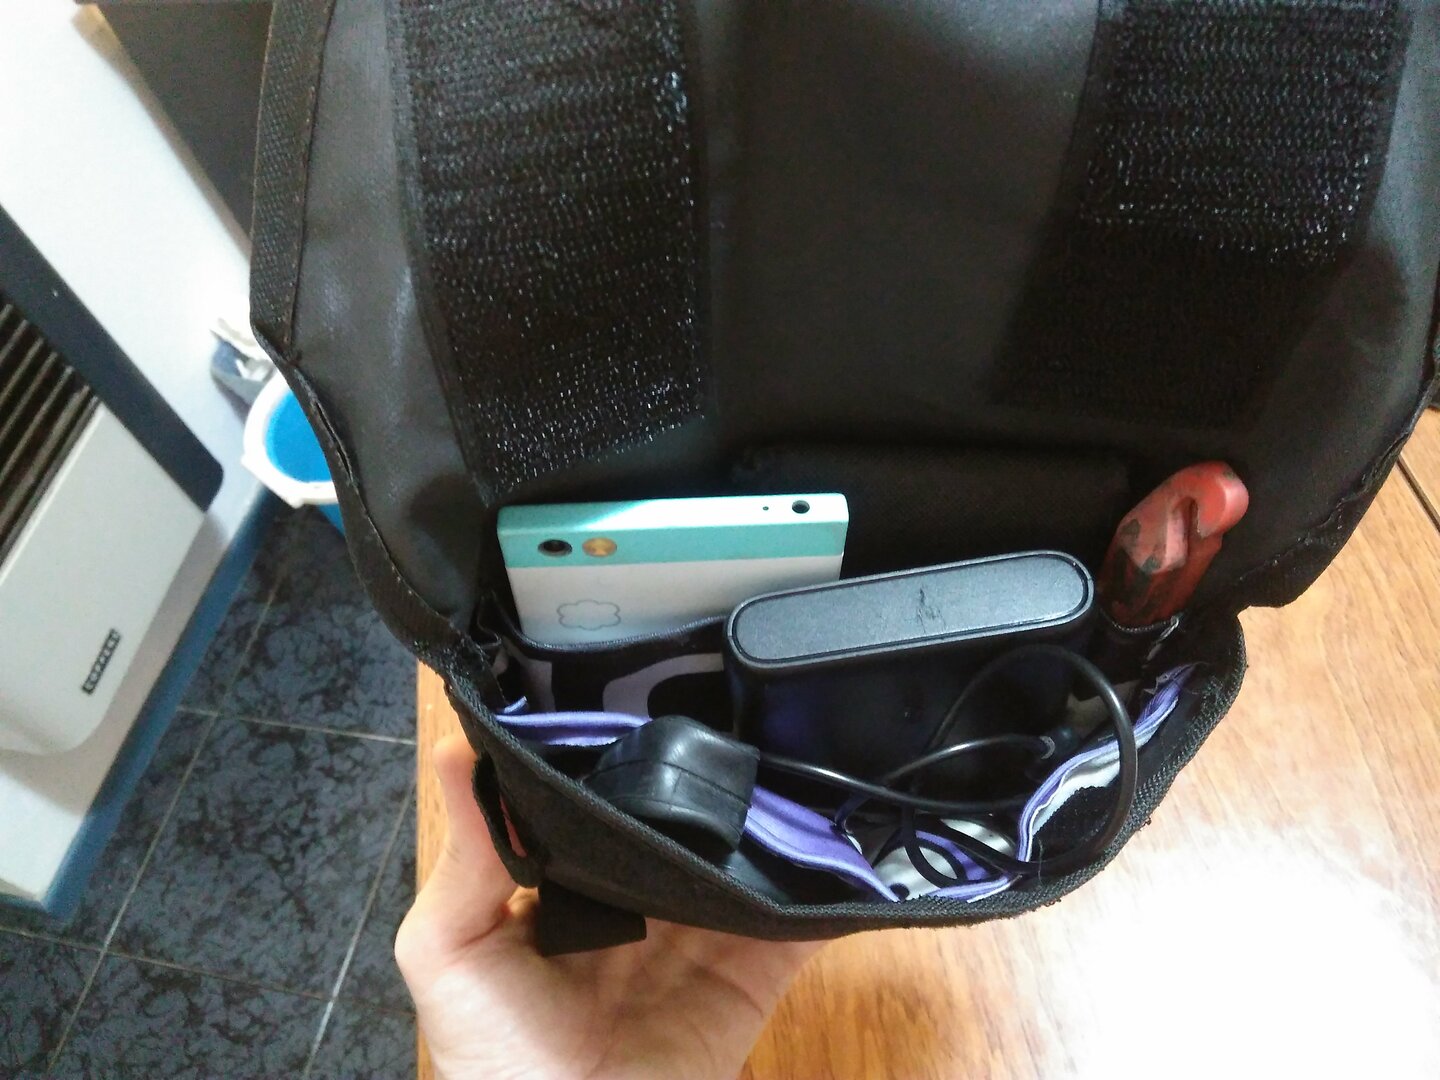
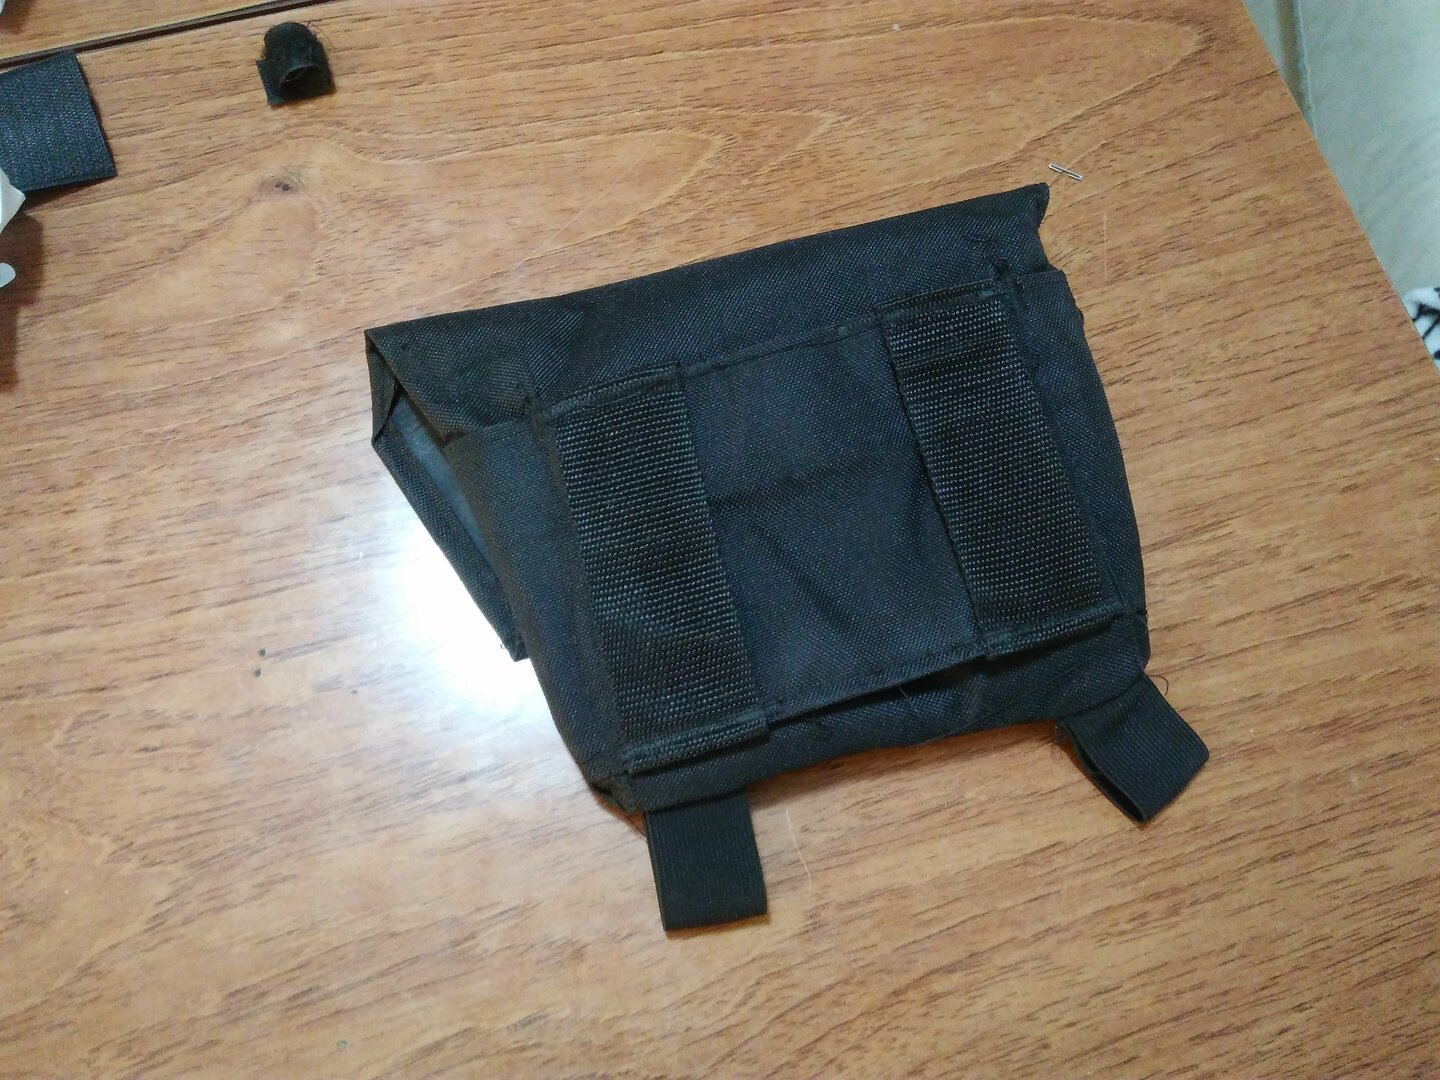
- Velcros in the wrong orientation.
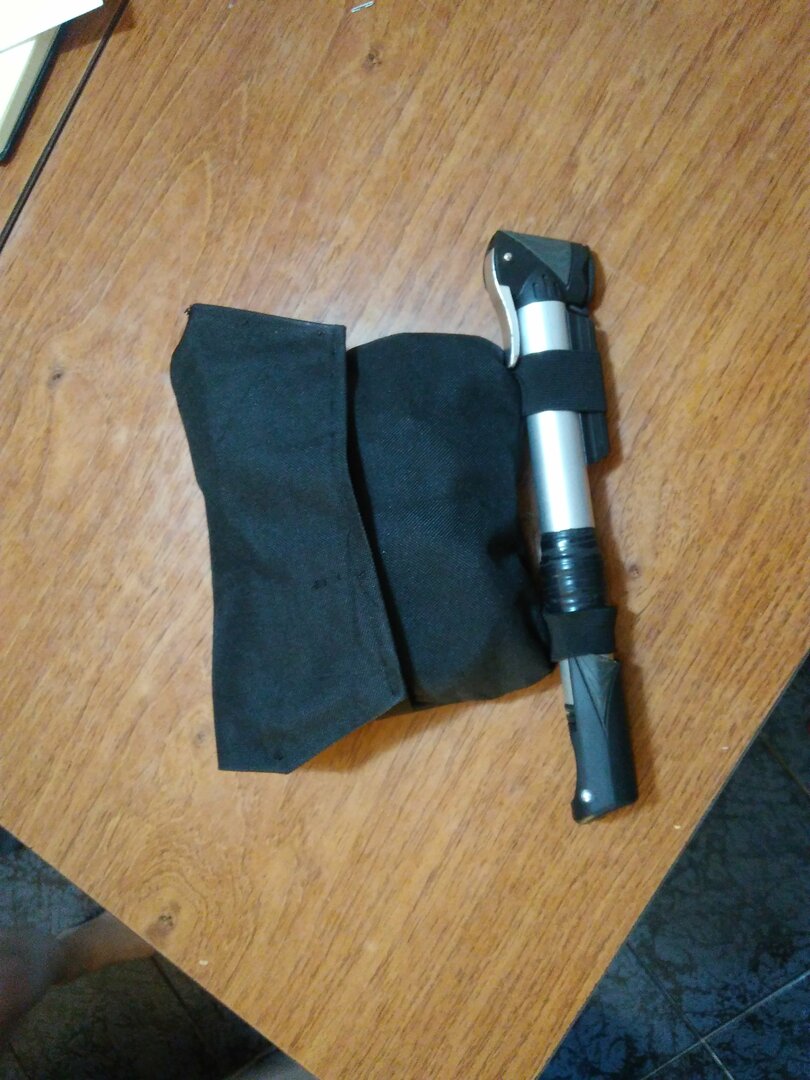
- Elastic loops on the outside for my hugely inadequate pump
- Loops to pass a belt through.
- U-lock holder.
How I made it
I tried to make something similar to this old edition of roadrunner's hip bag (video).
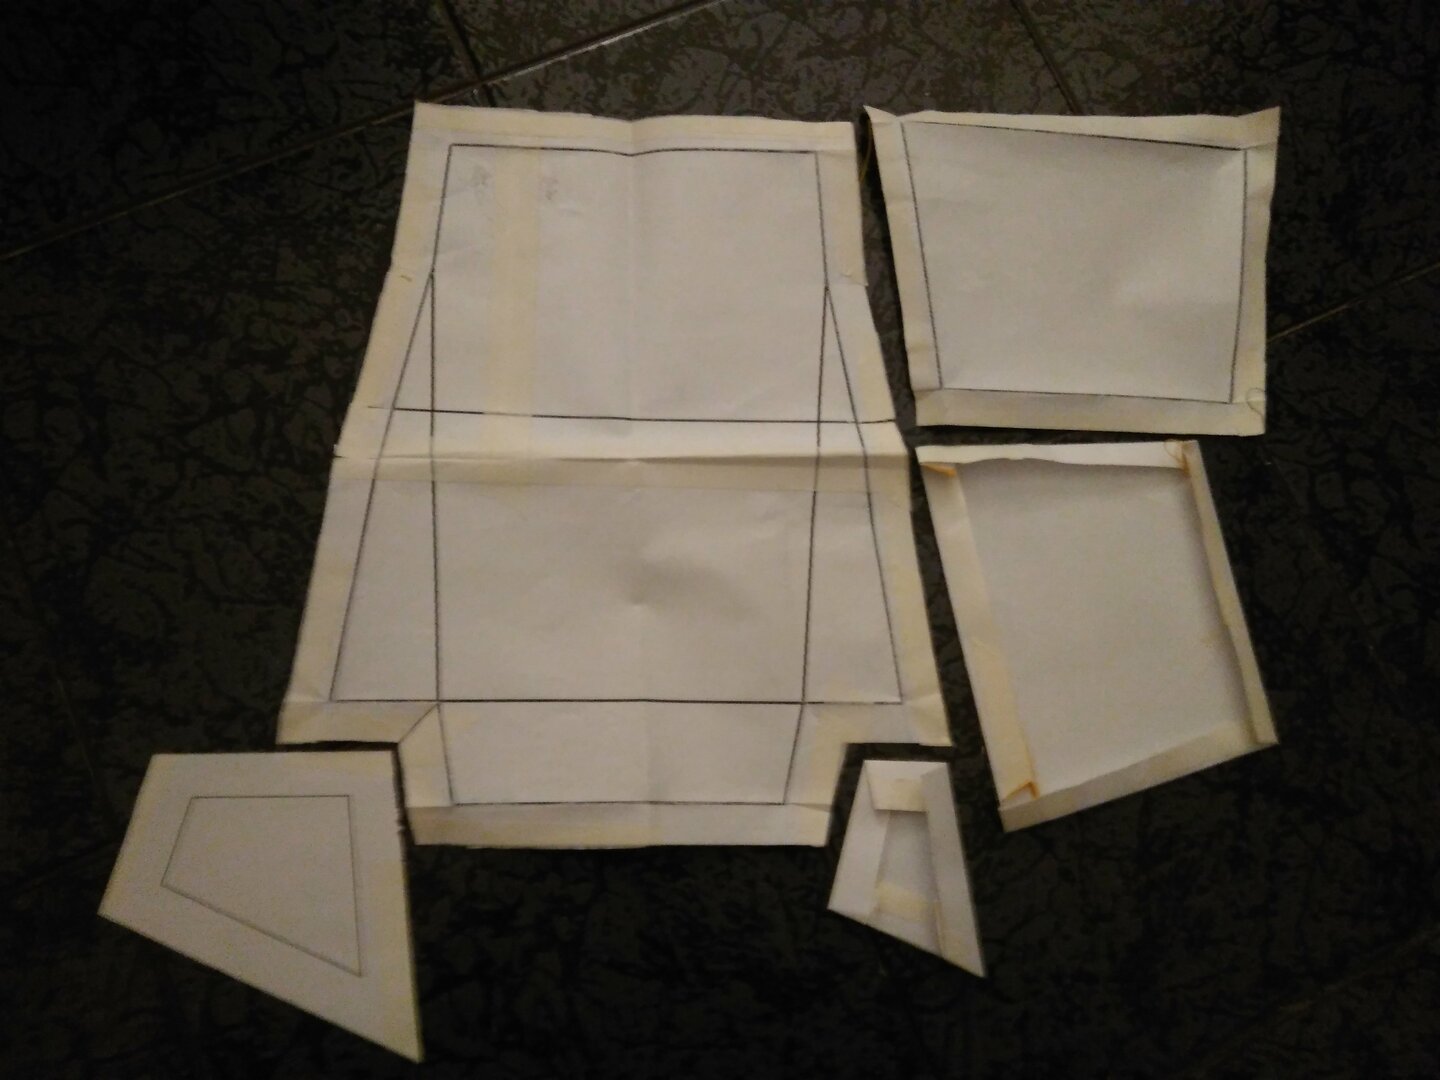
Delfi helped me to do diagrams for the pattern in paper, and then translate them into a sketch (with proper measures) and then, finally, into fabric.
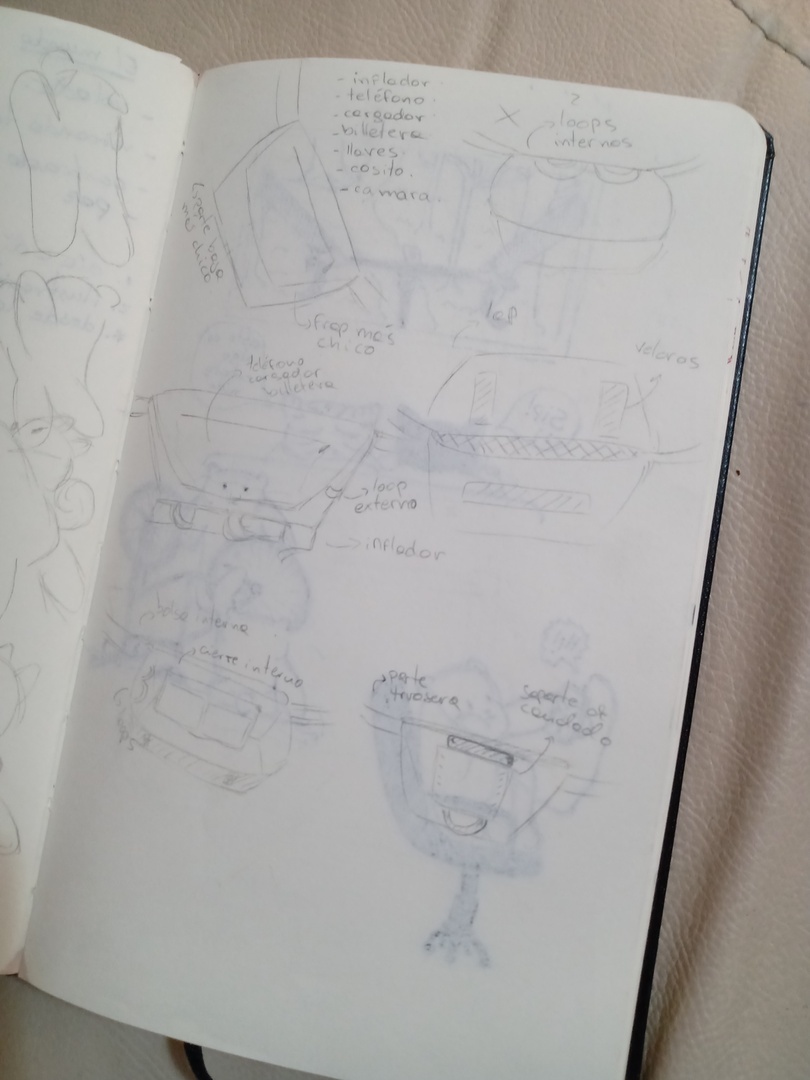
BTW, aren't her drawings super cute? you can follow her instagram for more extra-cute content!
What I've learned
- The horizontal velcro piece should be on the flap for more adjustability. This one really can't be closed tight when it's empty 😭.
- I need a smaller hand pump (not sewing-related, tho). It's also a real pain to get to even 100psi with that one.
- I don't really want to carry my U-lock in my hip.
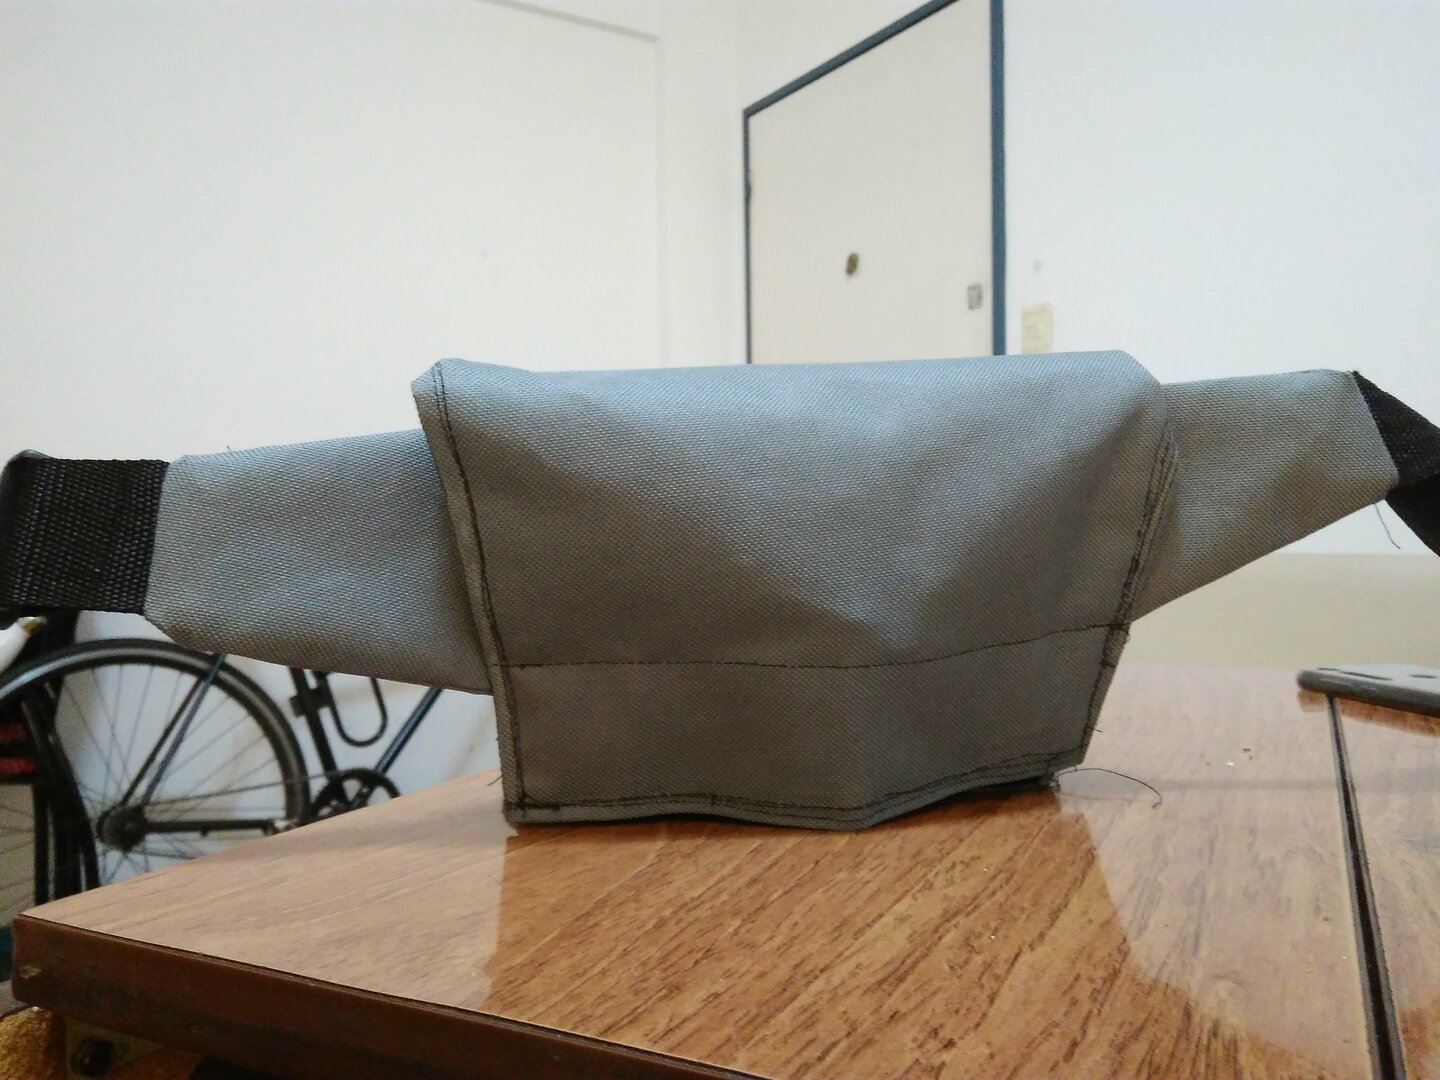
- Having both the belt loops in the back and the back piece reaching around to the front one to add thickness to the bag makes the U-lock stay in place securely, but the actual bag stays pretty loose.
- Another side effect of this construction is, the bottom has effectively zero thickness, making the bag wegde-shaped, with the wide part at the top and a rather pronounced angle. When you open it, it kind of feels like everything inside is gonna fall.
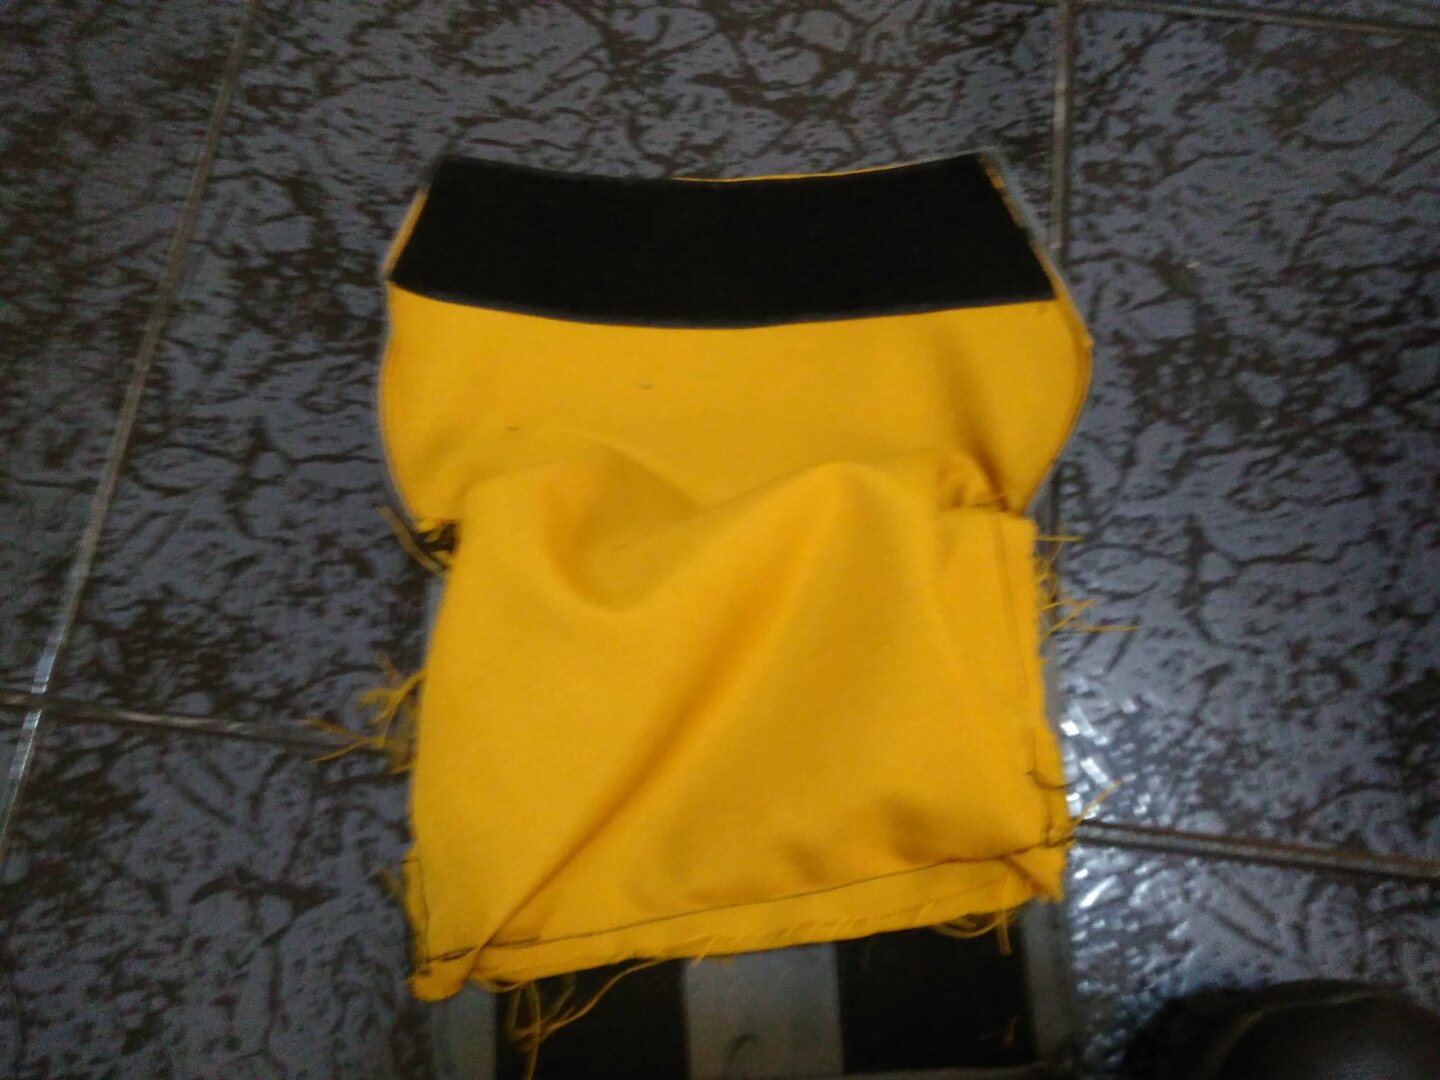
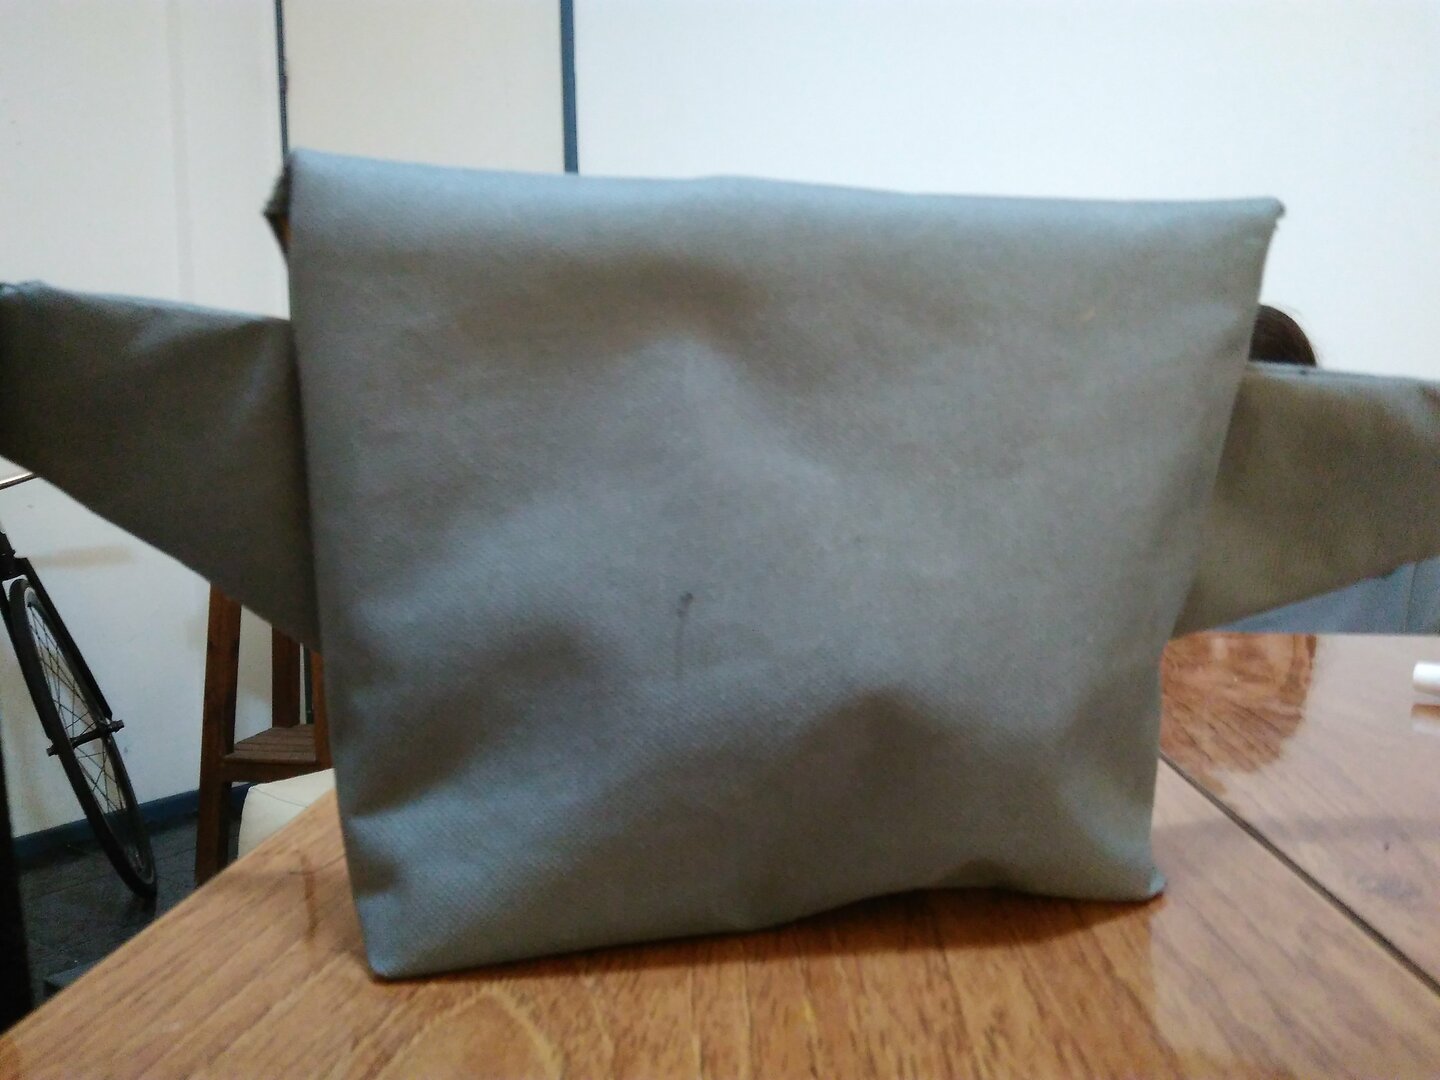
Second attempt
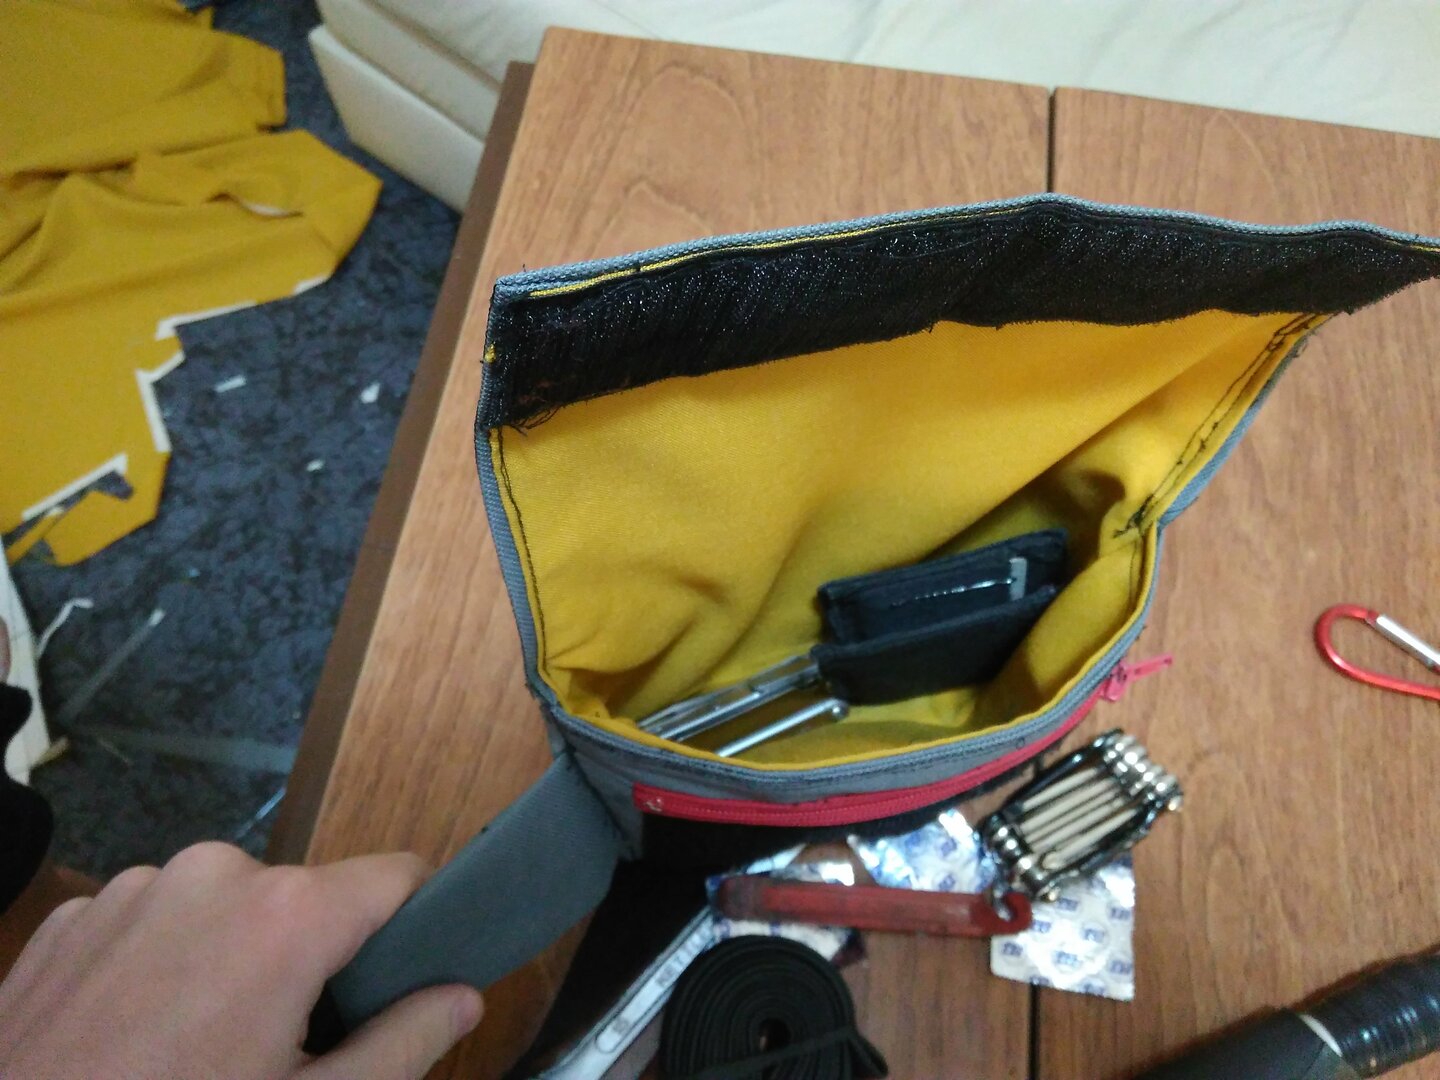
I made an attempt at lining, now with more kinds of fabric at my disposal.
I also tried to make the bag fit more snugly and have a less pronounced wedge shape. Now the bottom of the bag has some depth to it, and there's less of a difference in witdth in the high vs low parts of the back piece, making the wedge less pronounced.
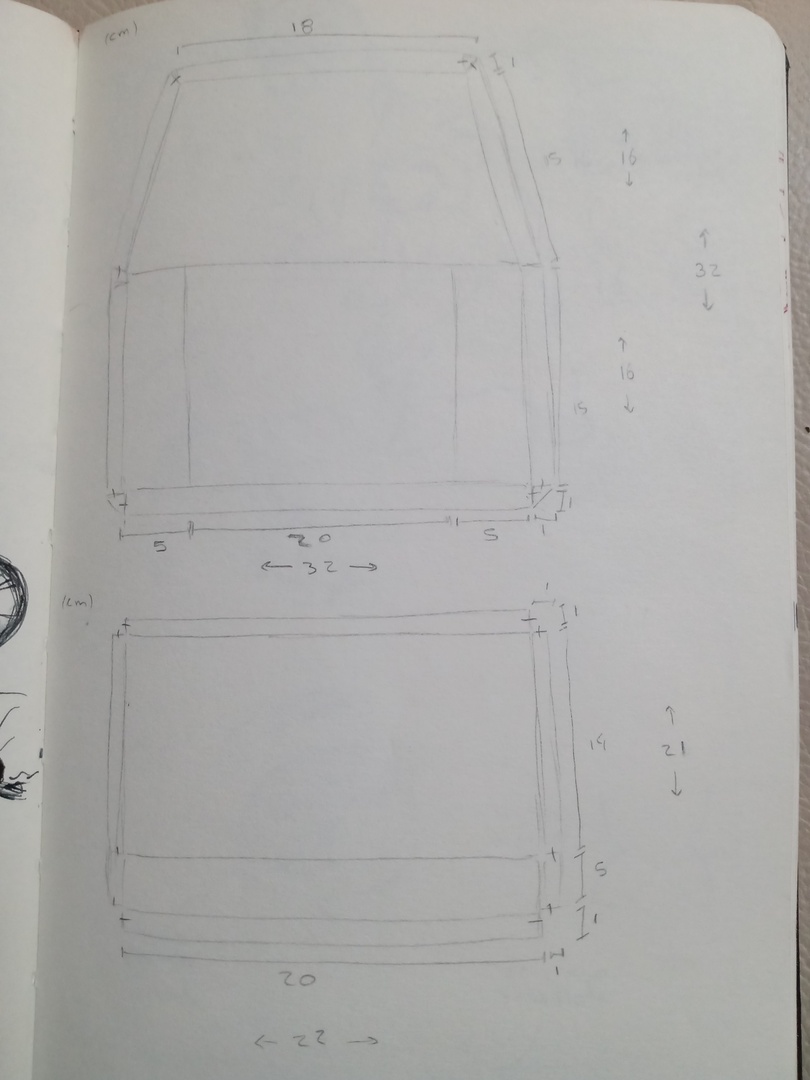
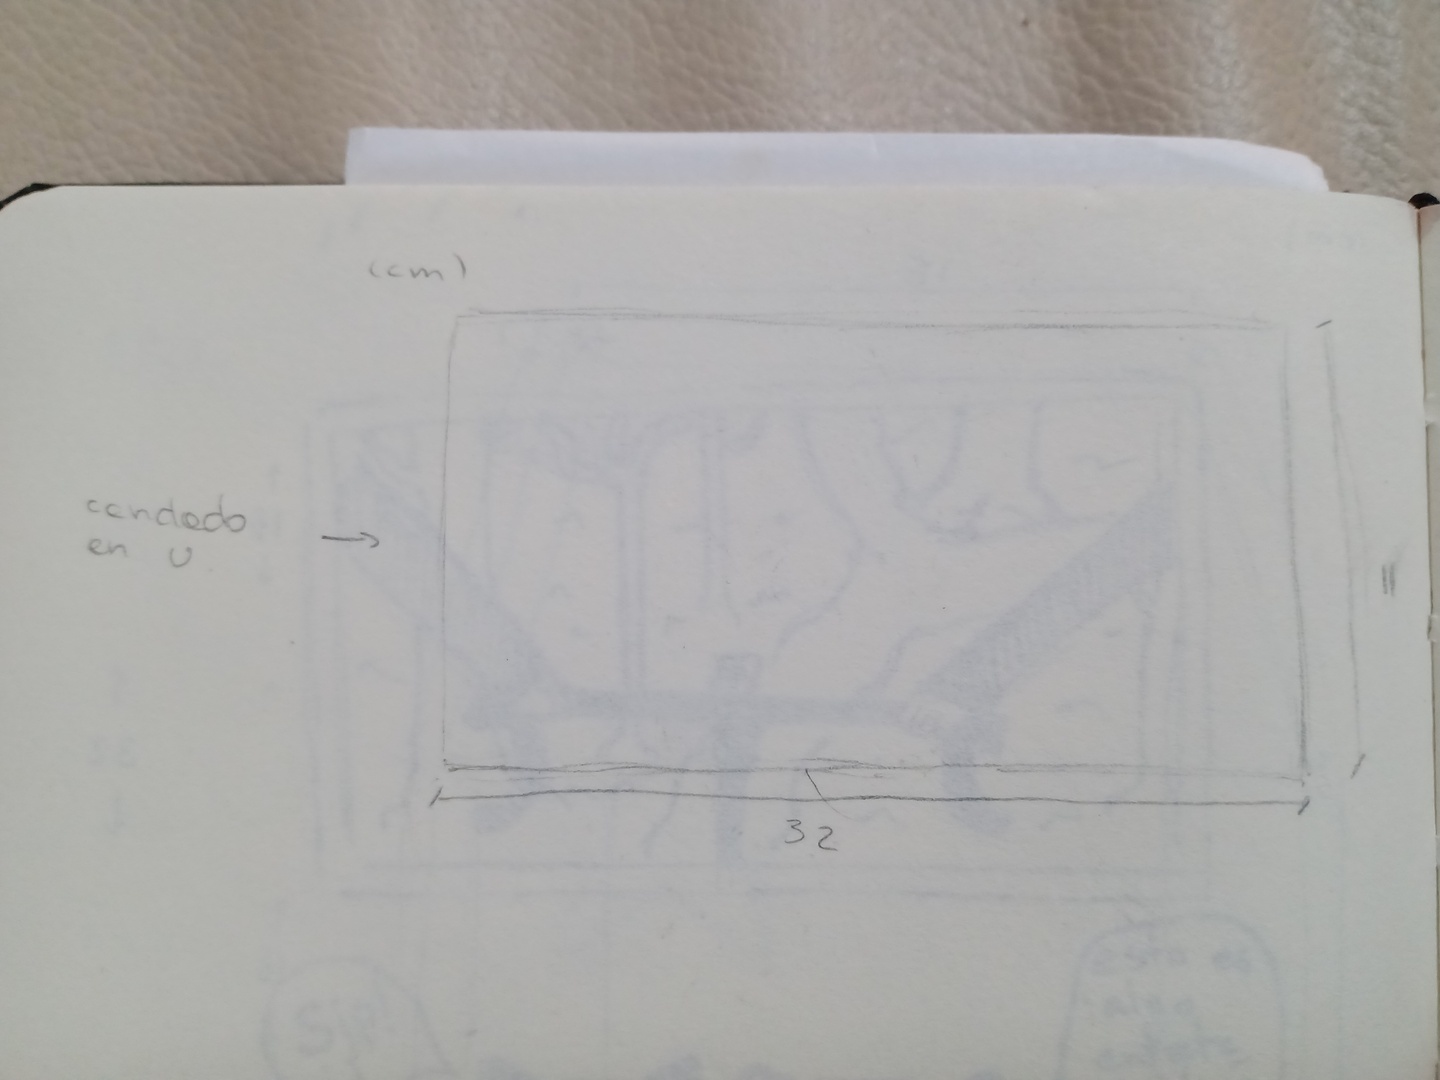
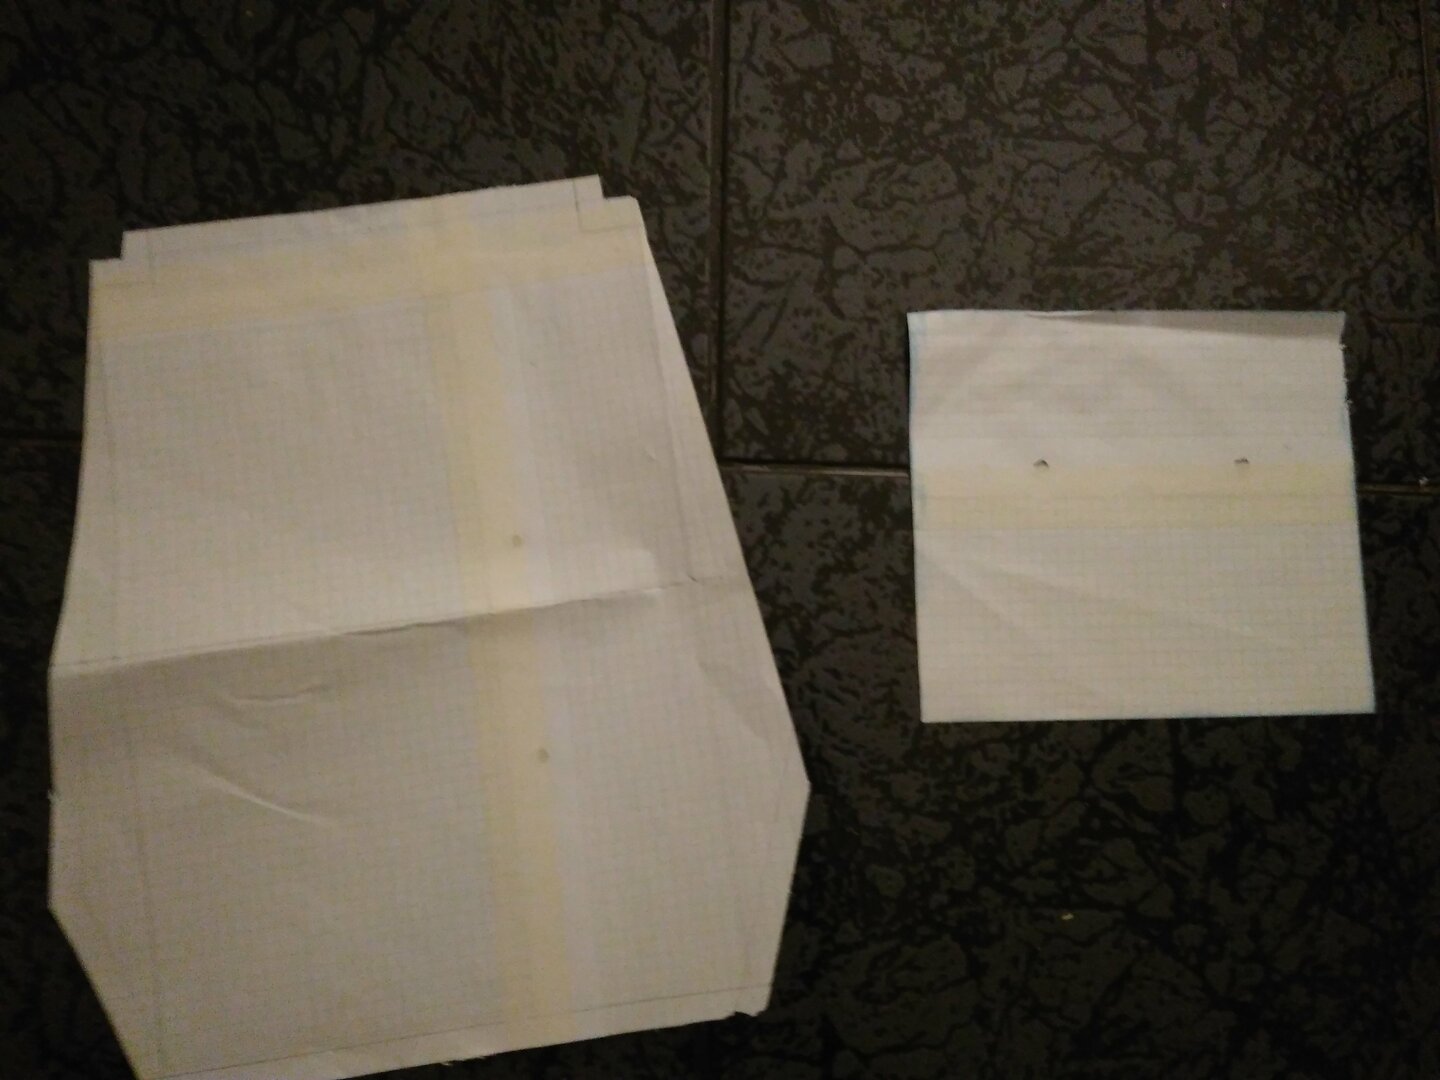
I made some sketches on a 2:1 scale and modified the patterns from the previous attempt:
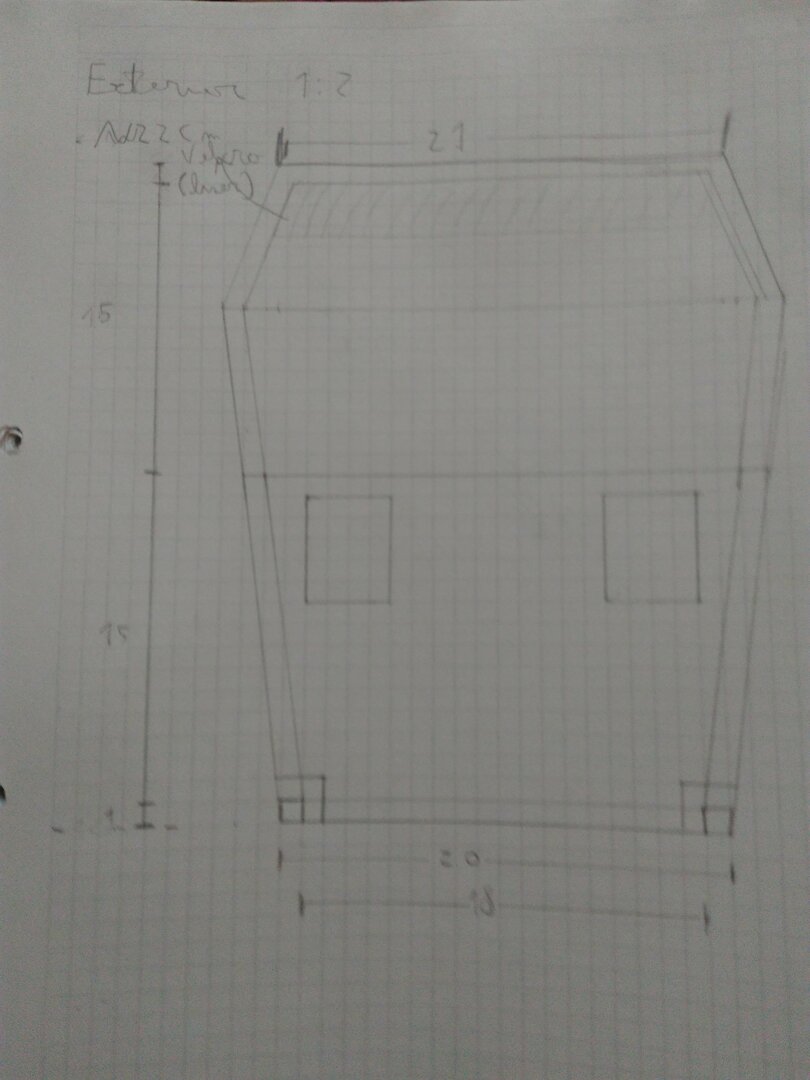
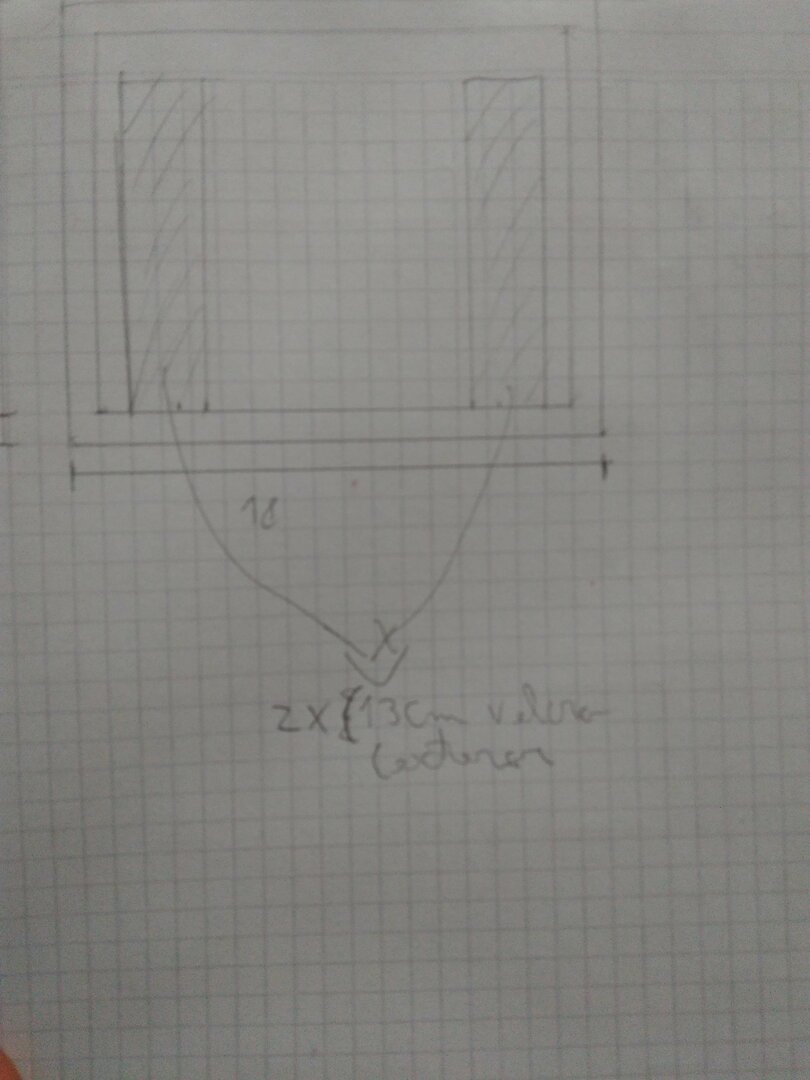
Now there's no U-lock holder, and the belt loops are closer to the bag's sides.
I'm pretty happy with how easy is to pass a carabiner through that loop.

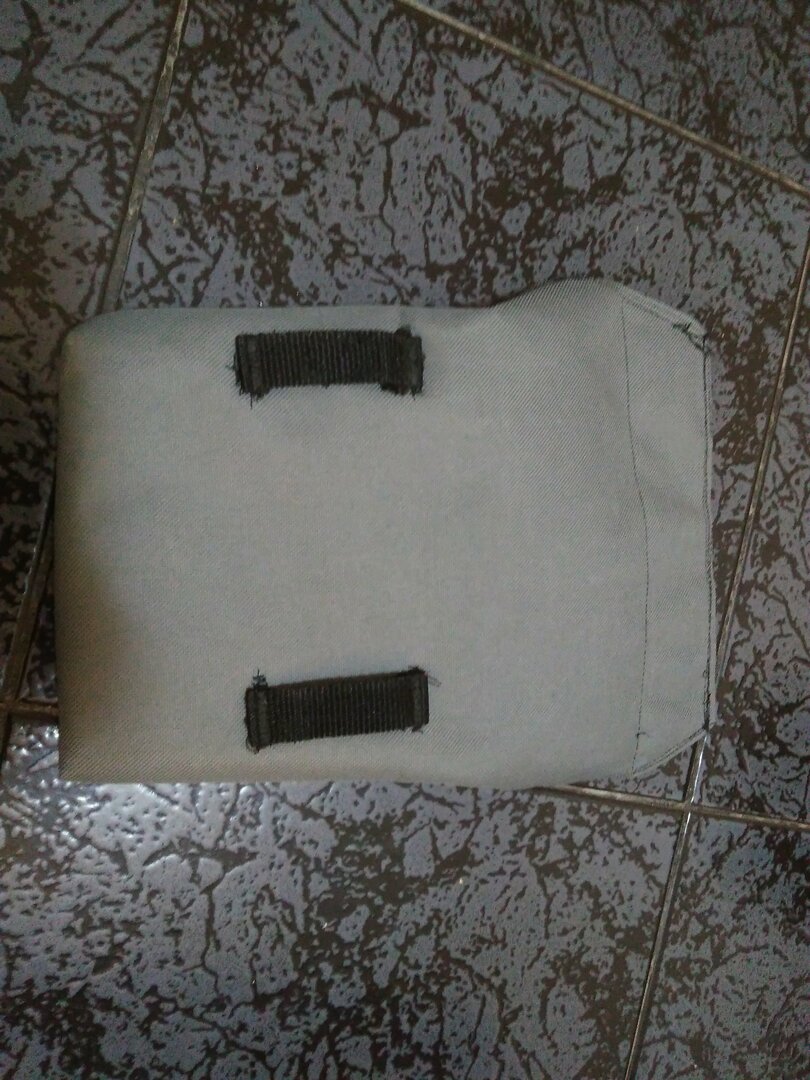
BUT here's where I fucked up:
I sewed the lining the wrong way 🤦, making the seams visible (and they aren't pretty). Also, that particular fabric's rather prone to fraying, so it'll be more of a 'learning experience' bag than a 'use regularly' one.
It does have a more snug fit, but the belt loops tend to get closer to each other making the bag sag a little
Oh, and I tried to have some form of divisions/internal pockets:

It however ended up feeling too flimsy, and when pushing things deeper into the bag on either side of the division, it would strech downwards and get in the way. I might try sewing the liner to the exterior of the bag on a few spots in the future, that might cause the liner to feel stiffer.
What I've learned
- If I want to achieve a bag that truly feels one with my hip, belt loops are not gonna cut it.
- With belt loops, the effective thickness at the top of the bag will always be the distance between the loop and the seam with the front panel.
- Because of this, I tried a different approach in the next version.
- Having the liner fabric as an internal division didn't feel good.
- I tried a different approach in the next version for this as well.
- Perhaps the liner fabric is better fitted for a French seam?
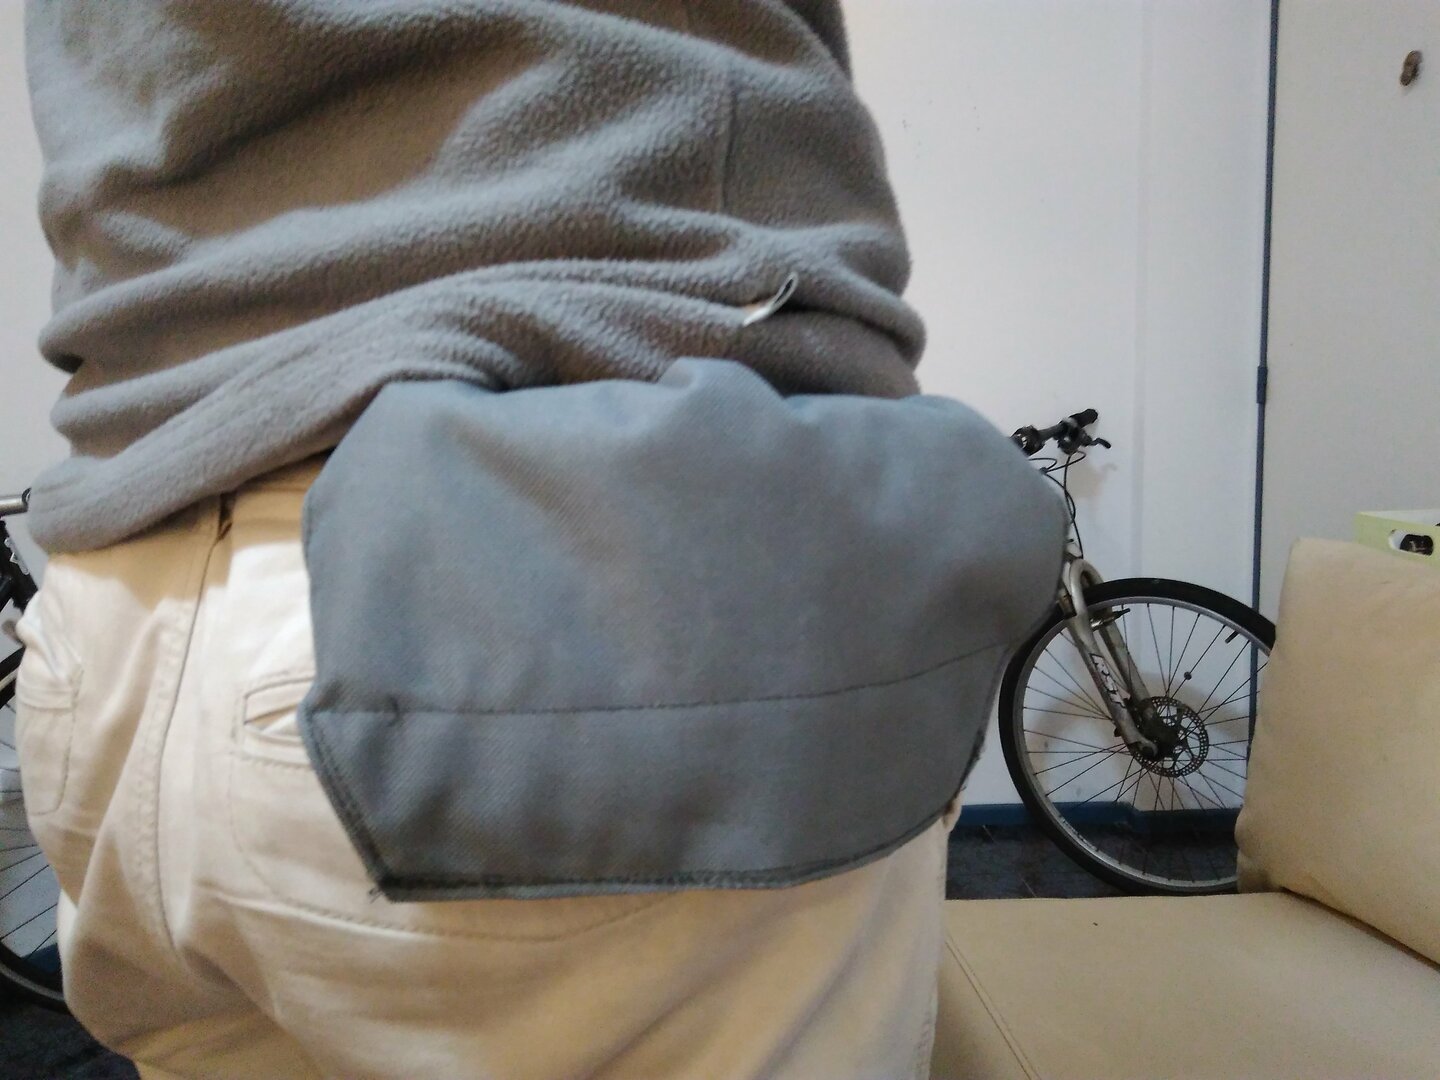
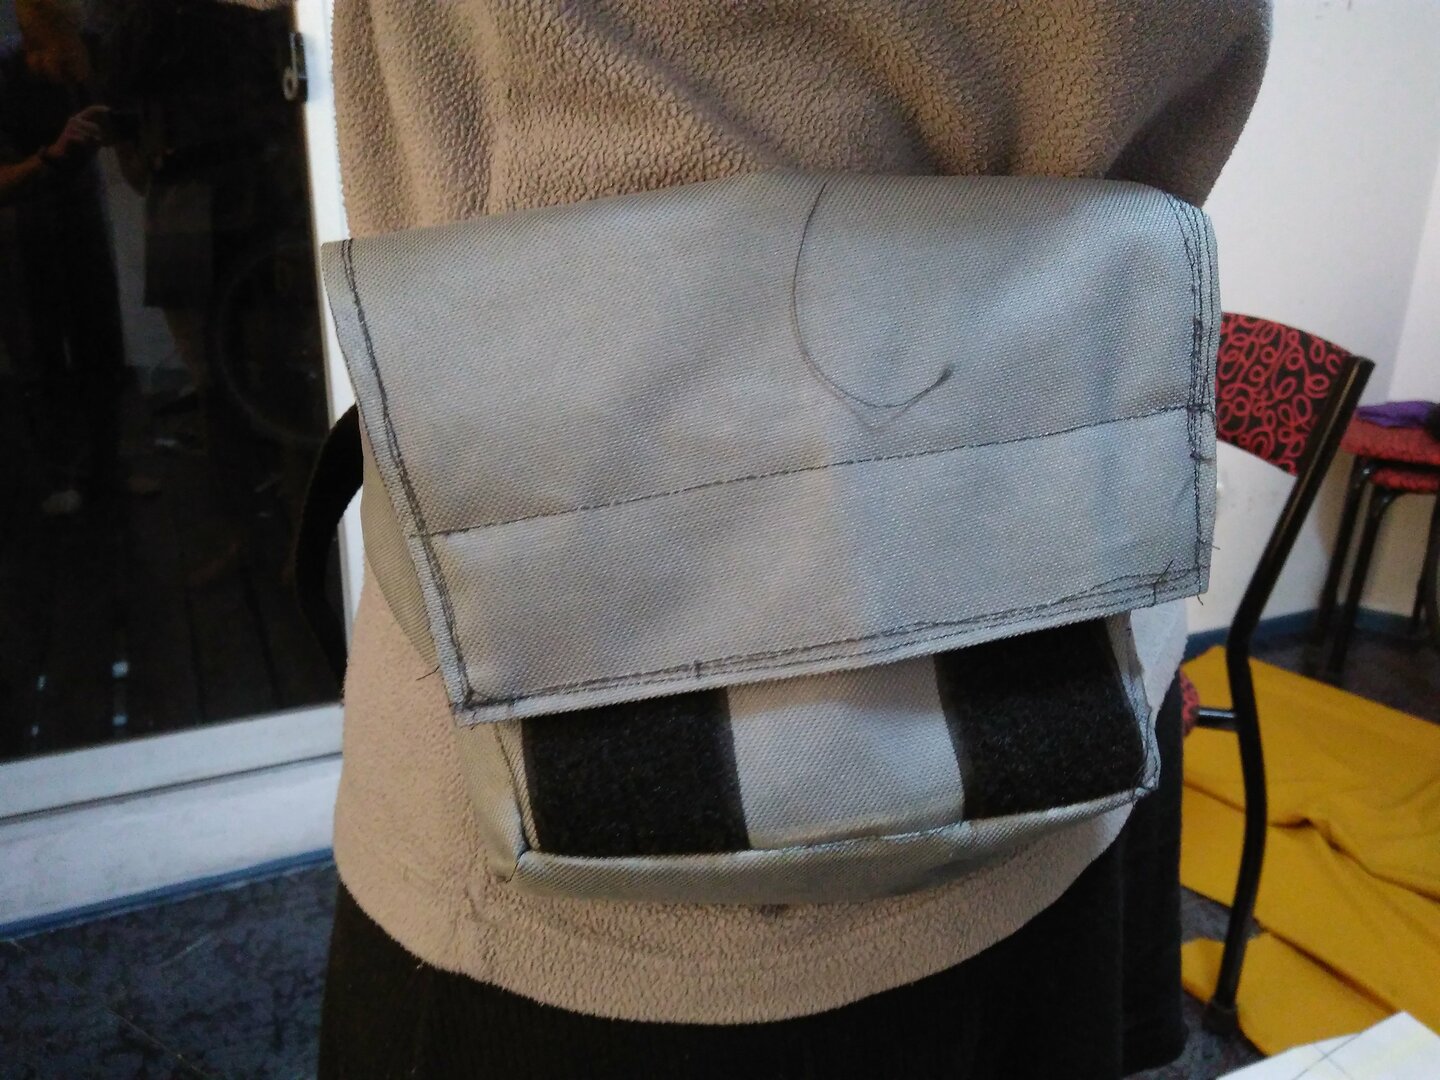
And finally, my most recent invention!
This bag features it's own strap which is affixed to the front panel at a sightly upwards angle, so the weight of the bag itself tightens it to the body, and the tension from the strap compresses the bag.
I did not invent this, obviously. I figured it out by closely looking at chrome industries' citizen bag and several reviews of it.
I think this was the first bag that I've seen where the strap(s) connect to the front instead of back panel. The Citizen is a messenger bag, so the tension is applied mostly from the strap being adjusted than from the weight of the bag itself,
This implies several trade-offs:
- I'm no longer able to use the same belt that I use for my pants to hold the bag.
- It feels less natural to have it on one side of the hip, since it wraps around it now.
- The clever U-lock holder from the first version is now impossible. The Citizen holds it in the front panel, but I don't think that would be practical in a bag of this dimensions. I didn't try it though.
- The strap has to be adjusted according not only to the size of my hip, but also to the contents of the bag.
- Now it can be used as a sling bag!
- It fits much more snugly to my hip. It only ever feels loose if I'm upside down, but that's not so frequent nowadays.
How I made it
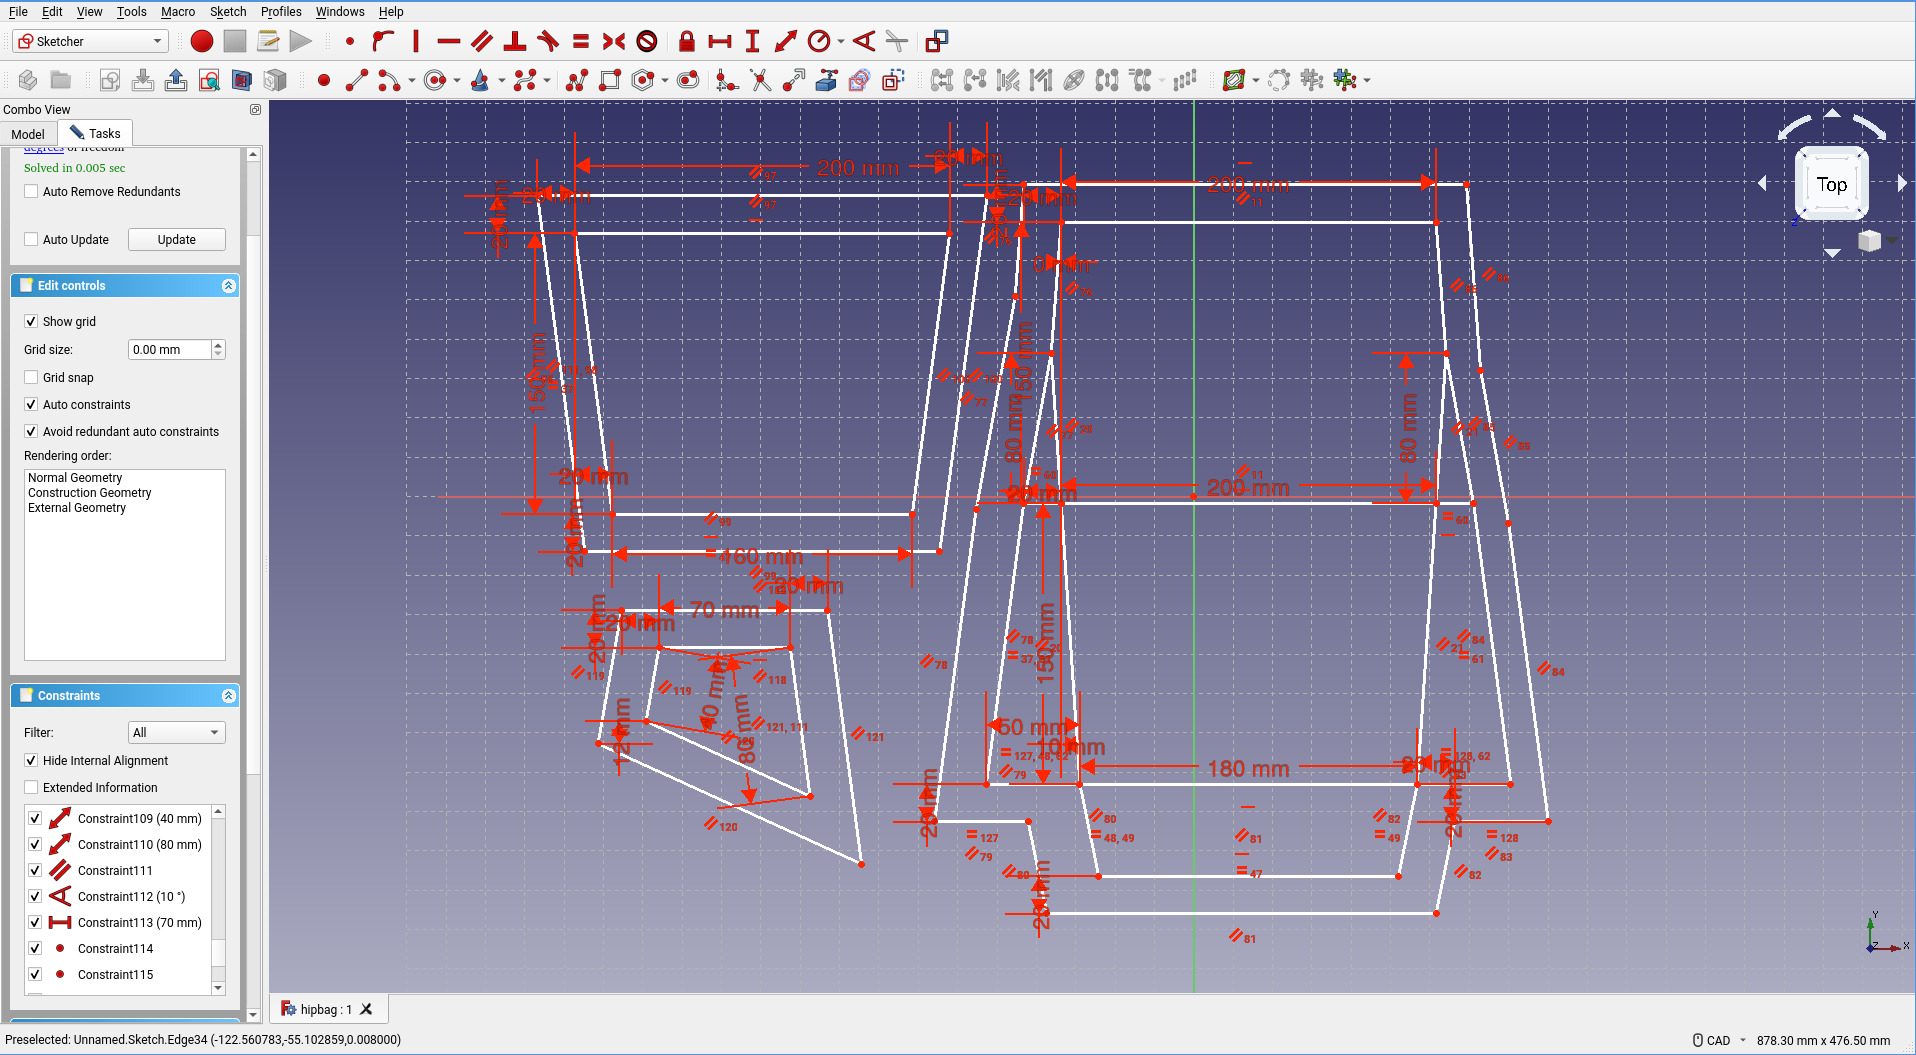
While I'm pretty happy with the progress I've made on the construction of this bag, the real breakthrough was with the planning & design.
Firstly, instead of making drawings to scale in paper and later manually marking/cutting the pattern, I used freeCAD to draw the actual pattern. It proved to be a much better experience! It might be because I'm a total mess drawing on paper, but I felt the sketch interface pretty natural to use. Being able to half-ass a polyline and then adding all the constraints and seeing the sketch resembling a real pattern was really satisfying.
In a first attempt I tried to make something similar to what Alexander Barsacq did with his bug bivy, trying to model a 3D-shape of the bag and then flatten it, but I got frustrated quickly and decided to create the patterns directly as sketches.
After having sketches, I exported them as a SVG and used Inkscape to split it into several images with a size my printer could handle, and printed away!
The process is as follows:
- With the rectangle tool, create rectangles of the size you'll want to print.
- Overlay them on top of the sketch, making sure to leave no part uncovered and the rectangles don't overflow the limits of the sketch.
- Create as many copies of the sketch as rectangles you've created in the previous step.
- Make sure the rectangles are above the sketches.
- Clip each one of the rectangles to one of the copies of the sketch.
- Export the results of the previous steps as PNG.
Note 1: While this works, I don't feel like this is an ideal solution by a long shot. For example, if one of the rectangles overflows the limits of the sketch, the resulting image will be smaller than the others, and will be printed out of scale. I tried to mitigate this by making the document size larger, so the rectangles overflow the sketch but not the document, and that didn't work. Because of Cunningham's Law, I'm proudly posting it anyway 😀.
Note 2: I tried at one point making the sketches into 3D objects and attach them with the appropiate constraints as if they were welded and had joints in the seams... but it didn't go well. I'll probably research some alternatives of software... specifically tailored for tailoring?
More pictures!
It looks super cute from the back:
I was so happy when using thread the same colour as the fabric, and I didn't know it:
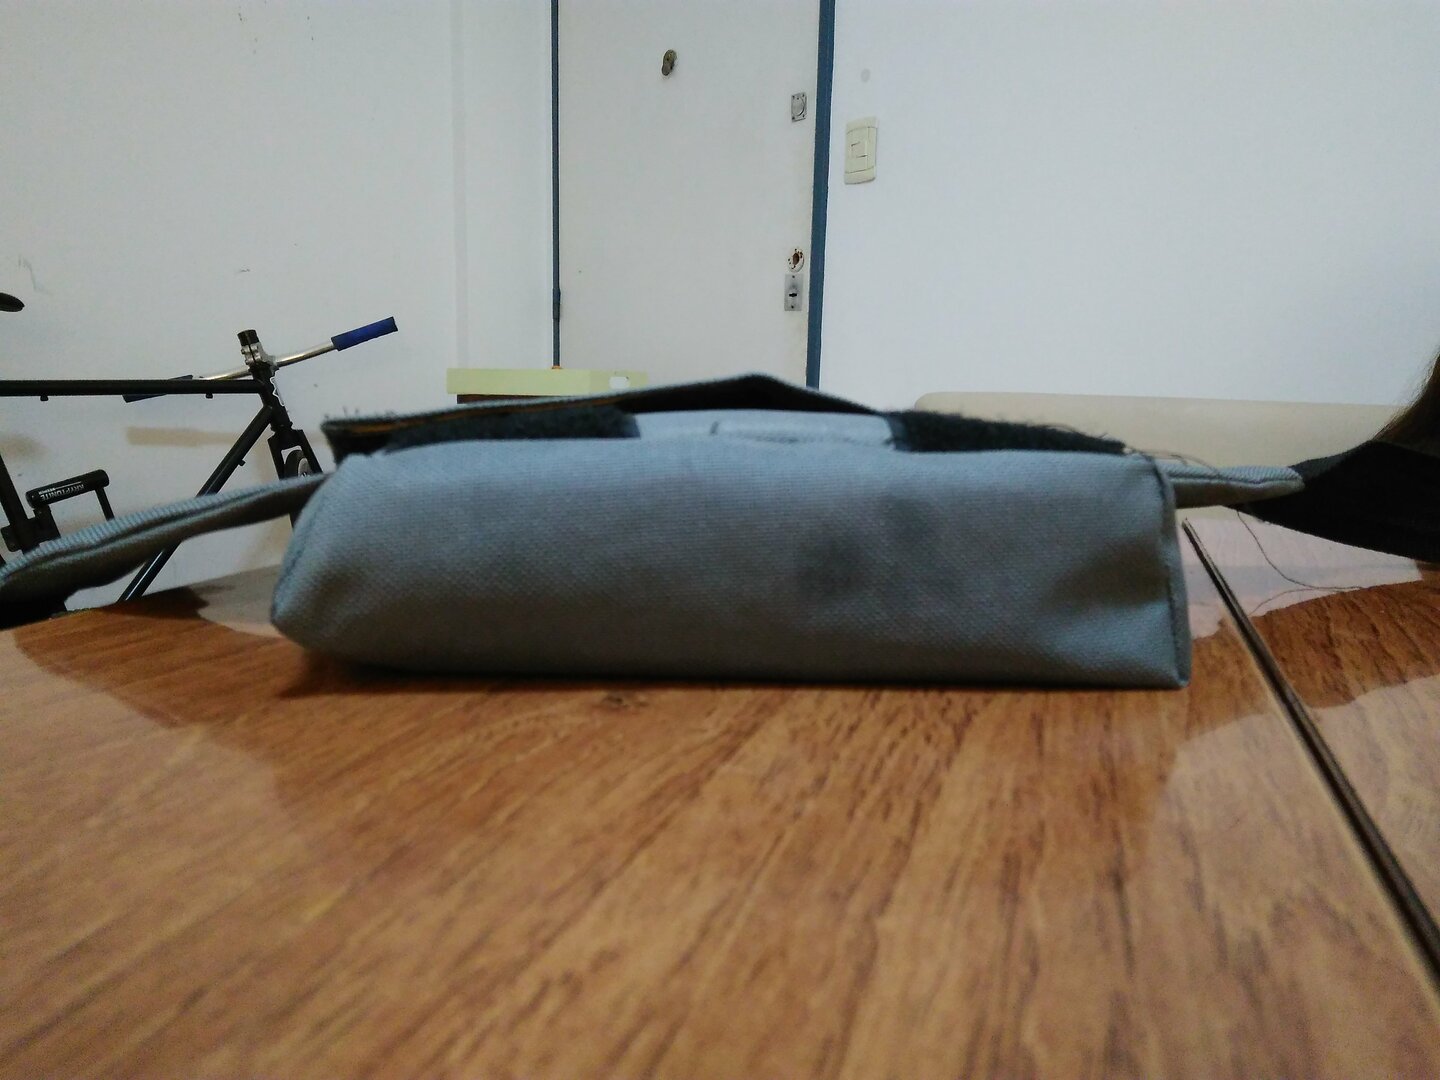
The depth difference in the two sides is kinda hideous:
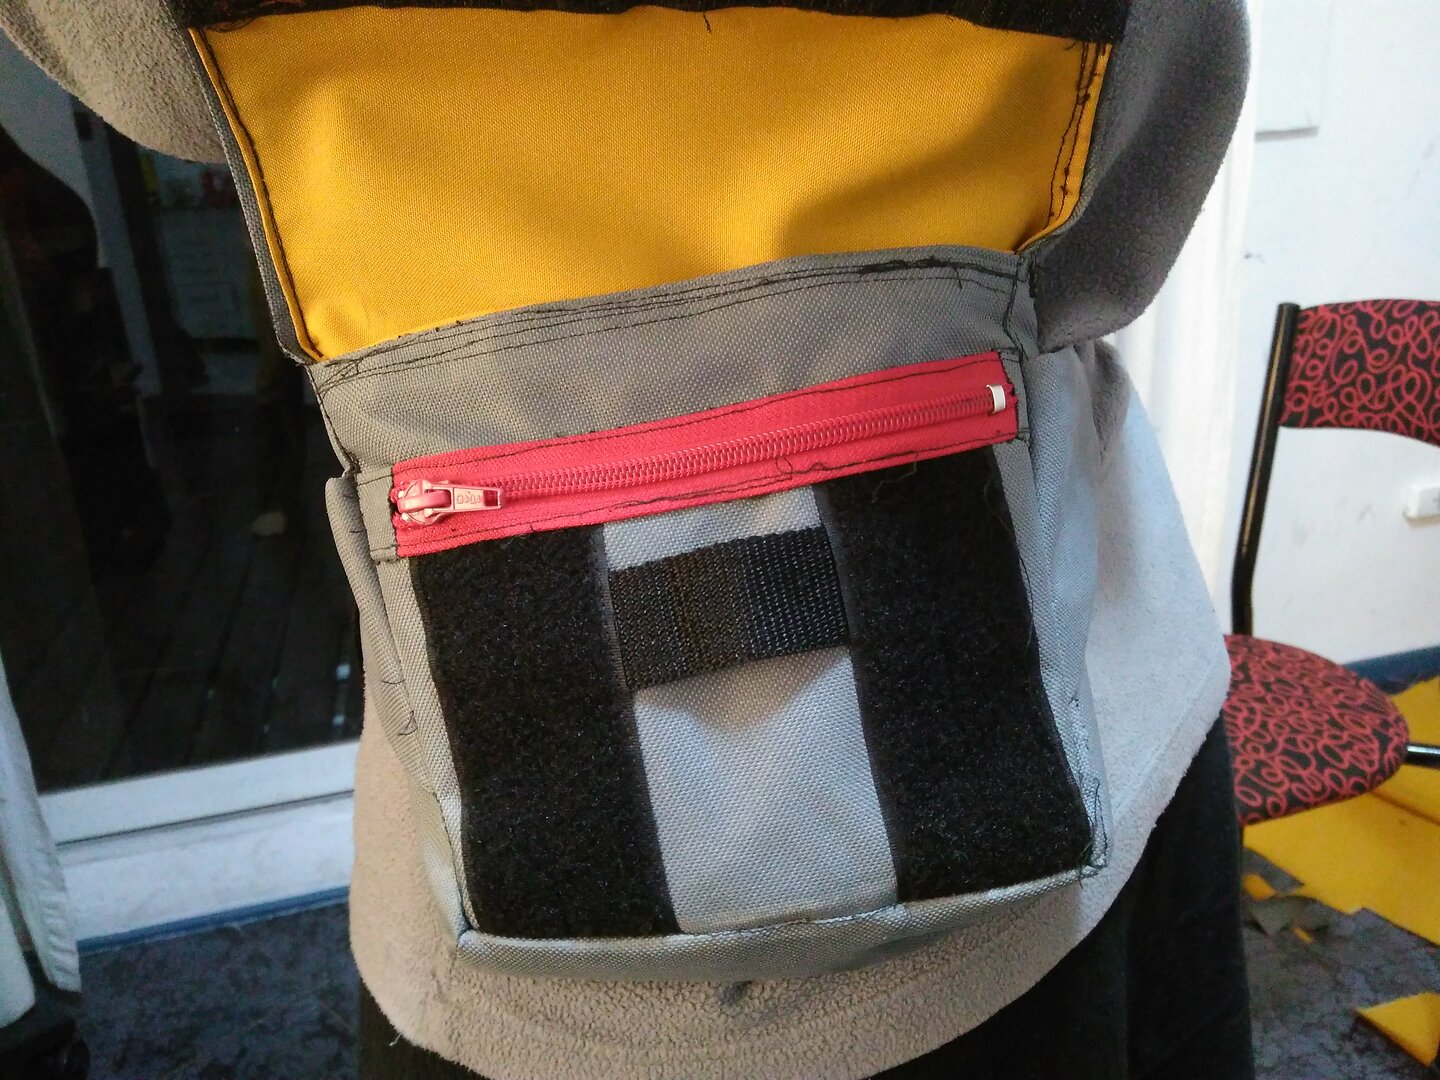
Oh, I didn't tell you about the zippered pocket: Thread color difference shows my lousy seams again, but the actual zipper works pretty well. However, I learned the zipper is way too low.
Also, since this is a more usable design I ended up using it to go shopping, and I couldn't get around to using the external loop to hold my keys. Reasons include:
- The keys would rattle unless I lifted them to be below the flap when closing the bag.
- I had to both open the bag and release the carabiner to actually use the keys.
So I ended up carrying my keys in my pant's pockets 🙃.
I don't know if I overestimated the seam allowances for the Cordura outer shell, or I just fucked up with the dimensions but this bag seems bigger than the previous iterations.
What I've learned
- Zipper location is not an aftertought and should be at least noted somewhere in the design.
- The velcros are too strong for something meant to be opened so easily. This closure seems adequate for a full size bag meant to go on your back. I don't think it's going to open unexpectedly if I make the soft sides of the velcro half as wide in the next iteration.
- This kind of strap is the way forward for bags of this size or bigger, but the exact placement and angles still requires some fine tuning.
- I guess it doesn't cost anything to have a key loop in the outside, but to have a good experience with carrying my keys in the bag I'll have to add a loop in the inside, or perhaps have an elastic tether as part of the bag itself. This tether should start from the upper part of the bag so I can pull the keys from it.
Conclusion
I had fun and learned a lot in this project. I went from 'clearly a prototype' to 'actually wearable' in just a few attempts, and not only did I greatly reduce my prototyping time with the help of freecad and inkscape, but made my experience doing so much more pleasurable (WYSIWYG software is still orders of magnitude less frustrating than drawing with pen&paper).
It was pretty refreshing using new software superficially (not deeply researching how it models its domain and how it can be customized or extended) and seeing how it made my life easier than the uncle-ted-approved alternative.
I'll certainly keep trying new approaches to bags and other gear. I still have like three meters of cordura left 🙃.
Update 1
I forgot to actually share the files so you can make the same hip bag or fork it ✨
Here's the repo